
You’re running an eCommerce business, you don’t have time to waste getting bogged down by domain name confusion.
When you have a Shopify store, the site URL is automatically set to “your-store-name.myshopify.com”, and that’s not ideal if you’re trying to establish yourself as a brand.
Of course, you’ll want to purchase a domain name and have that be what people look for to reach your store, not a Shopify URL.
But that isn’t always so simple to do, and depending on a few different factors, there are different steps you need to take to have your domain name properly pointing toward your Shopify store.
Whether you're using a third-party domain provider like GoDaddy, Namecheap, or Google Domains, understanding how to adjust your DNS settings is critical to making your online store accessible through your custom domain.
In this post, we’ll go over the different ways to get a domain and have it point to your online storefront.
Easiest Method: Buy a Domain Name Through Shopify
Possibly the easiest and most straightforward way to get a specific domain to point to your Shopify store is to buy the domain directly from Shopify themselves.
That way you can have your site hosted on Shopify's servers and your domain is also registered with Shopify, so integrating your domain to point to your store is instant and near-automatic.
You can buy a domain through Shopify by visiting their Buy and register domain name page.
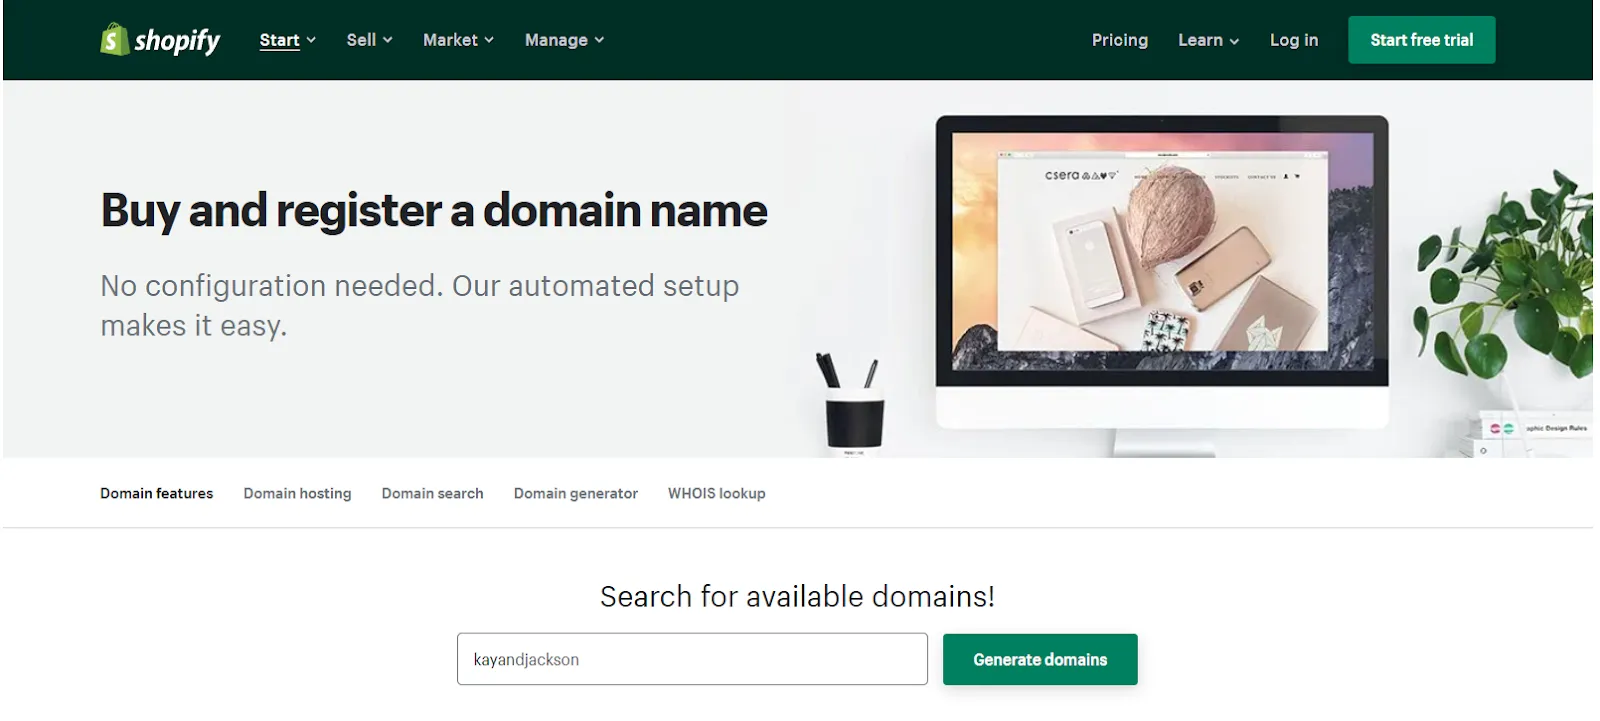
Simply type the domain you want in the box and Shopify will let you know if it’s available, and some suggestions in case your first pick isn’t possible to register.
After that, since you bought it through Shopify, it should automatically point to your storefront (which is why this is the easiest method!).
This approach simplifies domain management because your custom domain and online store are managed under one dashboard in your Shopify admin. It also eliminates the need to manually update DNS settings or A records. Store owners who are beginners or want to avoid dealing with third-party domain providers like GoDaddy or Namecheap will find this process much faster. Shopify also automatically provisions an SSL certificate with every domain purchased, enhancing your store’s trust and SEO performance.
Second Easiest: Buy a domain on Google Domains, GoDaddy, or IONOS (formerly 1&1)
This method is almost as easy as buying your domain through Shopify domains.
If you purchased your domain on either GoDaddy, Google Domains, or IONOS (formerly 1&1), Shopify has an automatic domain connection option where you can login to your domain provider account and automatically set everything up in a few seconds.
According to Shopify’s manual page on automatically connecting domains, if you use one of these providers you can simply go to your Domains page and press “Connect Automatically”.
After that, follow the simple steps laid out and you will have everything done automatically in a few seconds.
It may take a bit longer for things to be 100% functional (like a day or so) but for most it should be near instant.

What it looks like if you’ve integrated your domain correctly.
This seamless setup updates your DNS records like your CNAME and A record behind the scenes, making it easy to point your custom domain to your Shopify store without manual changes. This is a perfect step-by-step guide for beginners who want to avoid the complexities of configuring DNS settings manually. By automatically connecting your domain name to Shopify’s IP address, you're streamlining your ecommerce business setup and improving your online presence instantly
Third Method: Manually Point Your Domain to Your Shopify Store
If you can’t use either of the above automatic methods because you use a different provider that Shopify doesn’t support for quick setup, you have to do a few more steps to have your domain point to Shopify.
In the Shopify manual for manually connecting your domain to your store, Shopify details a step-by-step for getting your domain pointing where you want it.
Manually editing your DNS settings is common when working with third-party domain providers like Namecheap or domain registrars outside Shopify. Make sure to double-check that your custom domain is correctly added in your Shopify admin and marked as your primary domain to help with SEO and consistent branding.
Don’t be intimidated by the steps, the only things that are important to do is have the A record in your domain host settings pointed to Shopify’s IP address 23.227.38.65, the Host box should be set to “@” and the www CNAME box pointing to shops.myshopify.com.
Each provider puts these in a different place, and they can be tricky to find, but they all have them.
Don’t worry if you mess up and put the wrong information in the wrong field, if you get anything wrong, the domain simply won’t point to the store and you can keep trying until you get it right.
Conclusion
Connecting your custom domain correctly is a key step in optimizing your Shopify store for search engines and building your brand identity. Proper domain registration and DNS record setup can help small businesses and entrepreneurs establish a strong online presence and drive more traffic to their ecommerce business.
Following these instructions, you can have your domain pointing to your Shopify store in a matter of seconds or a matter of minutes, and then you can get back to what matters most: running your business!
